
Crispy oven baked wings from your own kitchen. Learn how to make your own restaurant quality, tender, crispy oven baked wings. Toss with your own sauce or sprinkle on your own dry rub. Don’t forget the bleu cheese or ranch to go along with your crispy oven baked wings.

Ingredients
- Fresh or frozen raw wings

Instructions
Pro tip: Check the tips at the bottom before you begin for the crispiest wings possible!
Step 1 – Prep Your Wings
Preheat your oven to 250°F.
Pat each chicken wing dry with paper towels. Removing surface moisture is key to getting crispy oven-baked wings instead of soggy skin.
After drying and using a kitchen torch to remove hairs
Step 2 – Low & Slow (Phase 1)
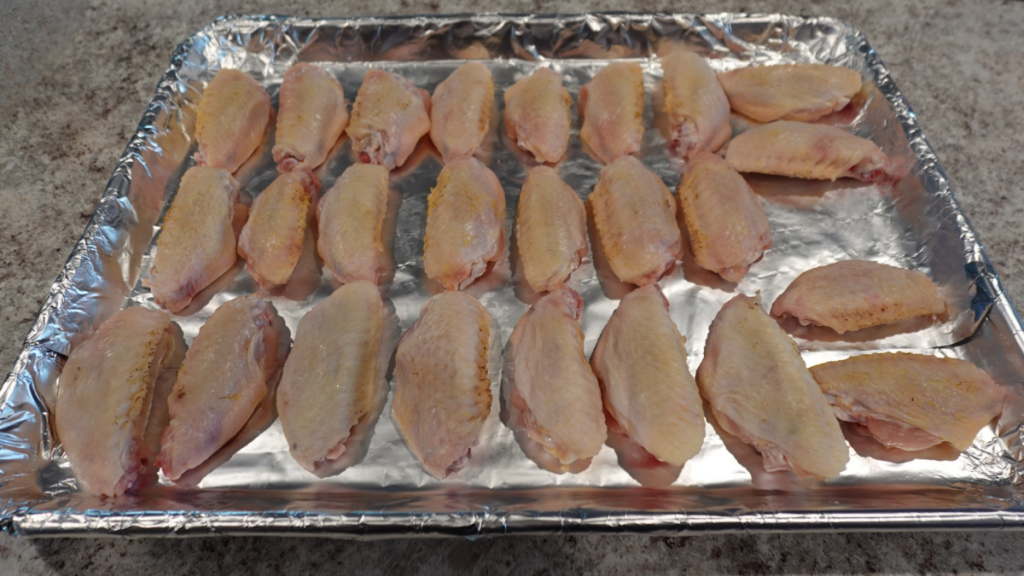
Line a baking pan with foil. Arrange the wings skin side up, with a bit of space in between. Just don’t let them touch!
Place the pan on the lower oven rack and bake at 250°F for 20 minutes.
This low-temperature start helps render the fat slowly, resulting in juicier, more tender wings.
Step 3 – Crank the Heat (Phase 2)
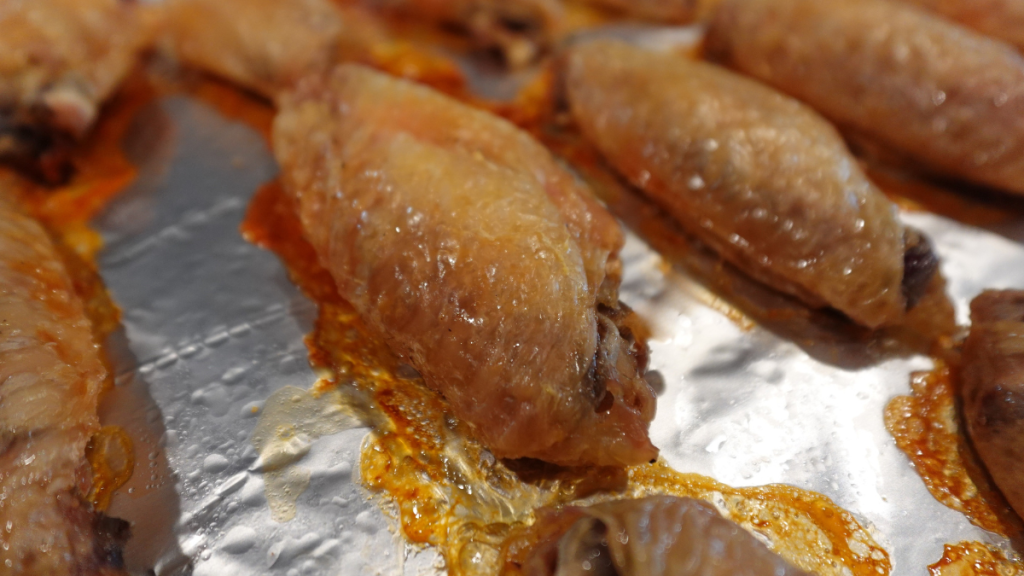
Without opening the oven, increase the heat to 400°F and bake for another 30–40 minutes.
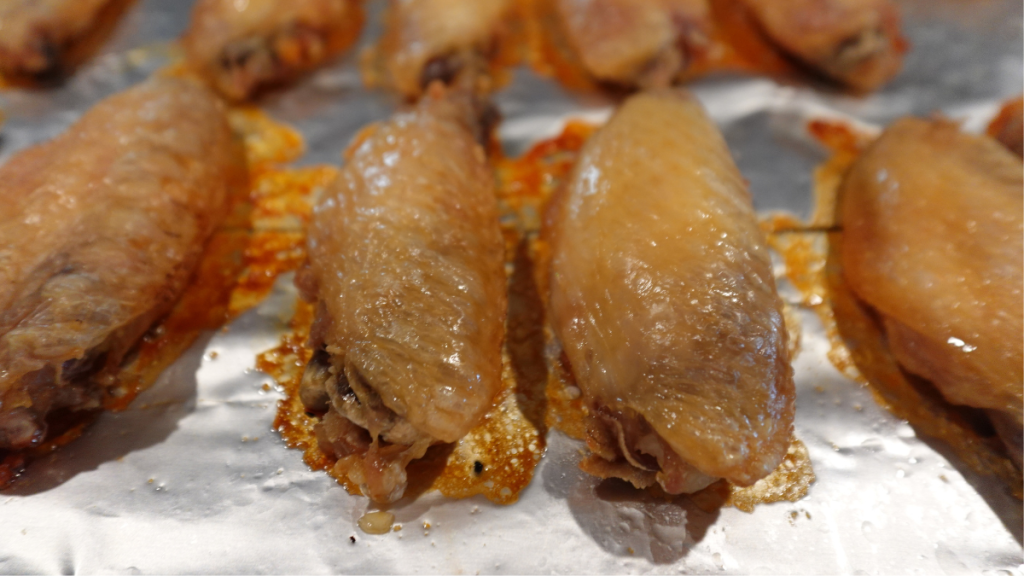
Check on the wings around the 30-minute mark. You’re aiming for a golden-brown, crispy skin. My sweet spot is 35-36 minutes.
You can test crispness by gently pressing the top of a wing, but avoid opening the oven too often — it slows down the crisping process.
This is about as dark as I will let them go before they become dry.
Step 4 – Toss & Sauce Those Crispy Oven Baked Wings
Once the wings hit your ideal level of crispiness, remove them from the oven and let them cool completely in the pan.
This prevents tearing the meat when lifting.
Transfer to a large bowl and toss with your favorite dry rub or wing sauce — buffalo, honey garlic, lemon pepper, you name it.
If you want to spark some ideas on what sauce to use or make, check out this >reddit post!< I use it when I am looking for something new.


Crispy Oven Baked Wings Pro-Tips
Torch Those Tiny Hairs
If you’re like me and hate the little feather hairs that sometimes cling to chicken wings, run a small kitchen torch lightly over them before baking.
Be careful! Especially if you’re holding the wing while doing this. Safety first, crispy wings second.
Moisture Is the Enemy of Crispy
Removing moisture is everything when baking wings. After patting them dry with paper towels, place them on a paper towel-lined plate, cover with another layer of paper towels, and store in the fridge for 30–60 minutes to let them air dry further.
This extra step ensures your wings bake, not steam! It gives you that golden, crackly skin.
Watch for Smoke
During the high-temp bake, watch for smoke — it’s a sign the fat is burning, not rendering. If you see smoke coming from the oven, it means:
- The wings are likely done, or
- You should lower the heat slightly to avoid overcooking.
Using Frozen Wings? Thaw & Dry!
If you’re using frozen chicken wings, make sure they are fully thawed and dried thoroughly, just like fresh ones. Wet frozen wings will never crisp up — and you’ll just end up sad.
Bonus: Use a Rack & Convection for Extra Crisp
Want your crispy oven baked wings to be taken to the next level?
Place wings on a baking rack over your pan so the hot air can circulate underneath.
If your oven has a convection setting, turn it on for the final 10–15 minutes. It’ll help dry out the skin even more and give you restaurant-style results.
Leave a Reply